How to Build an Office in a Warehouse: A Step-by-Step Guide to Modular Construction
If your facility needs a dedicated office space inside a warehouse, manufacturing plant, or distribution center, a modular office is one of the fastest, most cost-effective solutions available. With Panel Built’s prefabricated office systems, all design, engineering, and manufacturing are completed off-site, so installation is quick and disruption to your operations is minimal.
Whether you’re upgrading an existing layout or designing a new office in warehouse configuration, this guide will walk you through the process of how to build an office in a warehouse using our proven panelized modular system.
Why Choose a Modular Office for Your Warehouse?
Before diving into the installation process, it’s important to understand why modular construction is often the best choice for building an office in a warehouse:
- Speed: Site prep and building fabrication happen simultaneously, reducing total project time by up to 50% compared to stick-built construction.
- Minimal Disruption: Most work happens off-site, keeping your facility operational during the build.
- Custom Fit: Every modular office is built to your specifications, including size, layout, and features.
- Flexibility: Modular offices can be expanded, relocated, or even removed without permanent changes to the building.
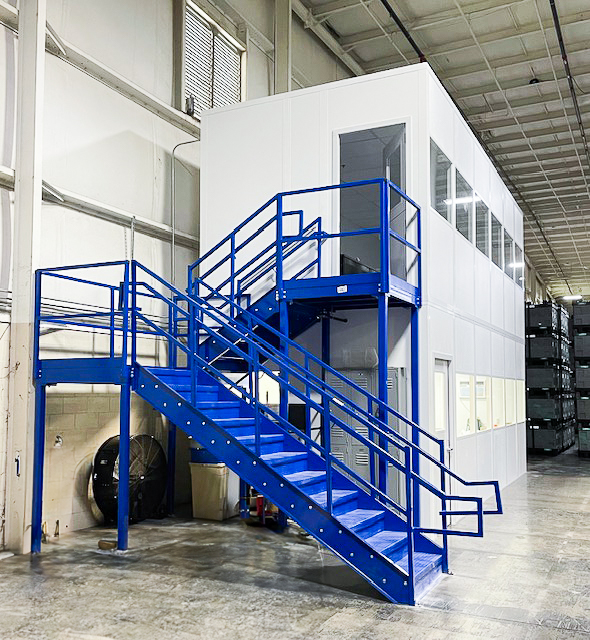
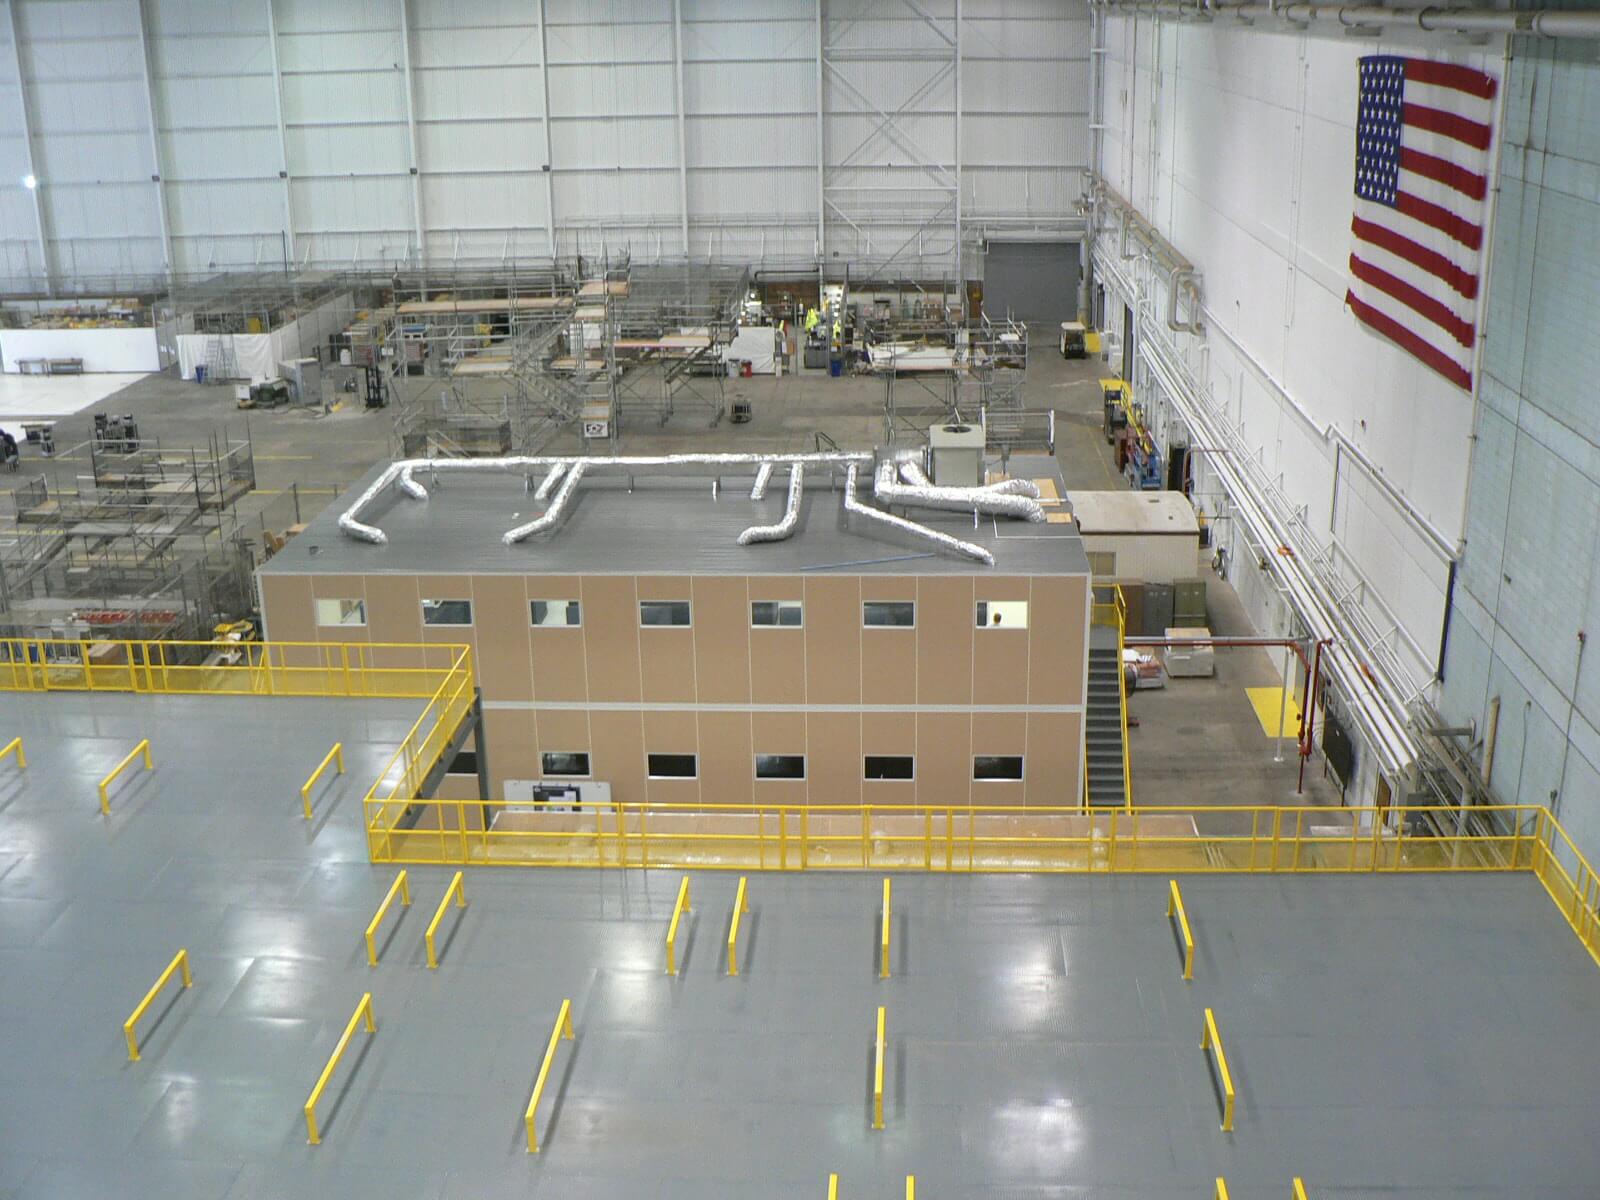
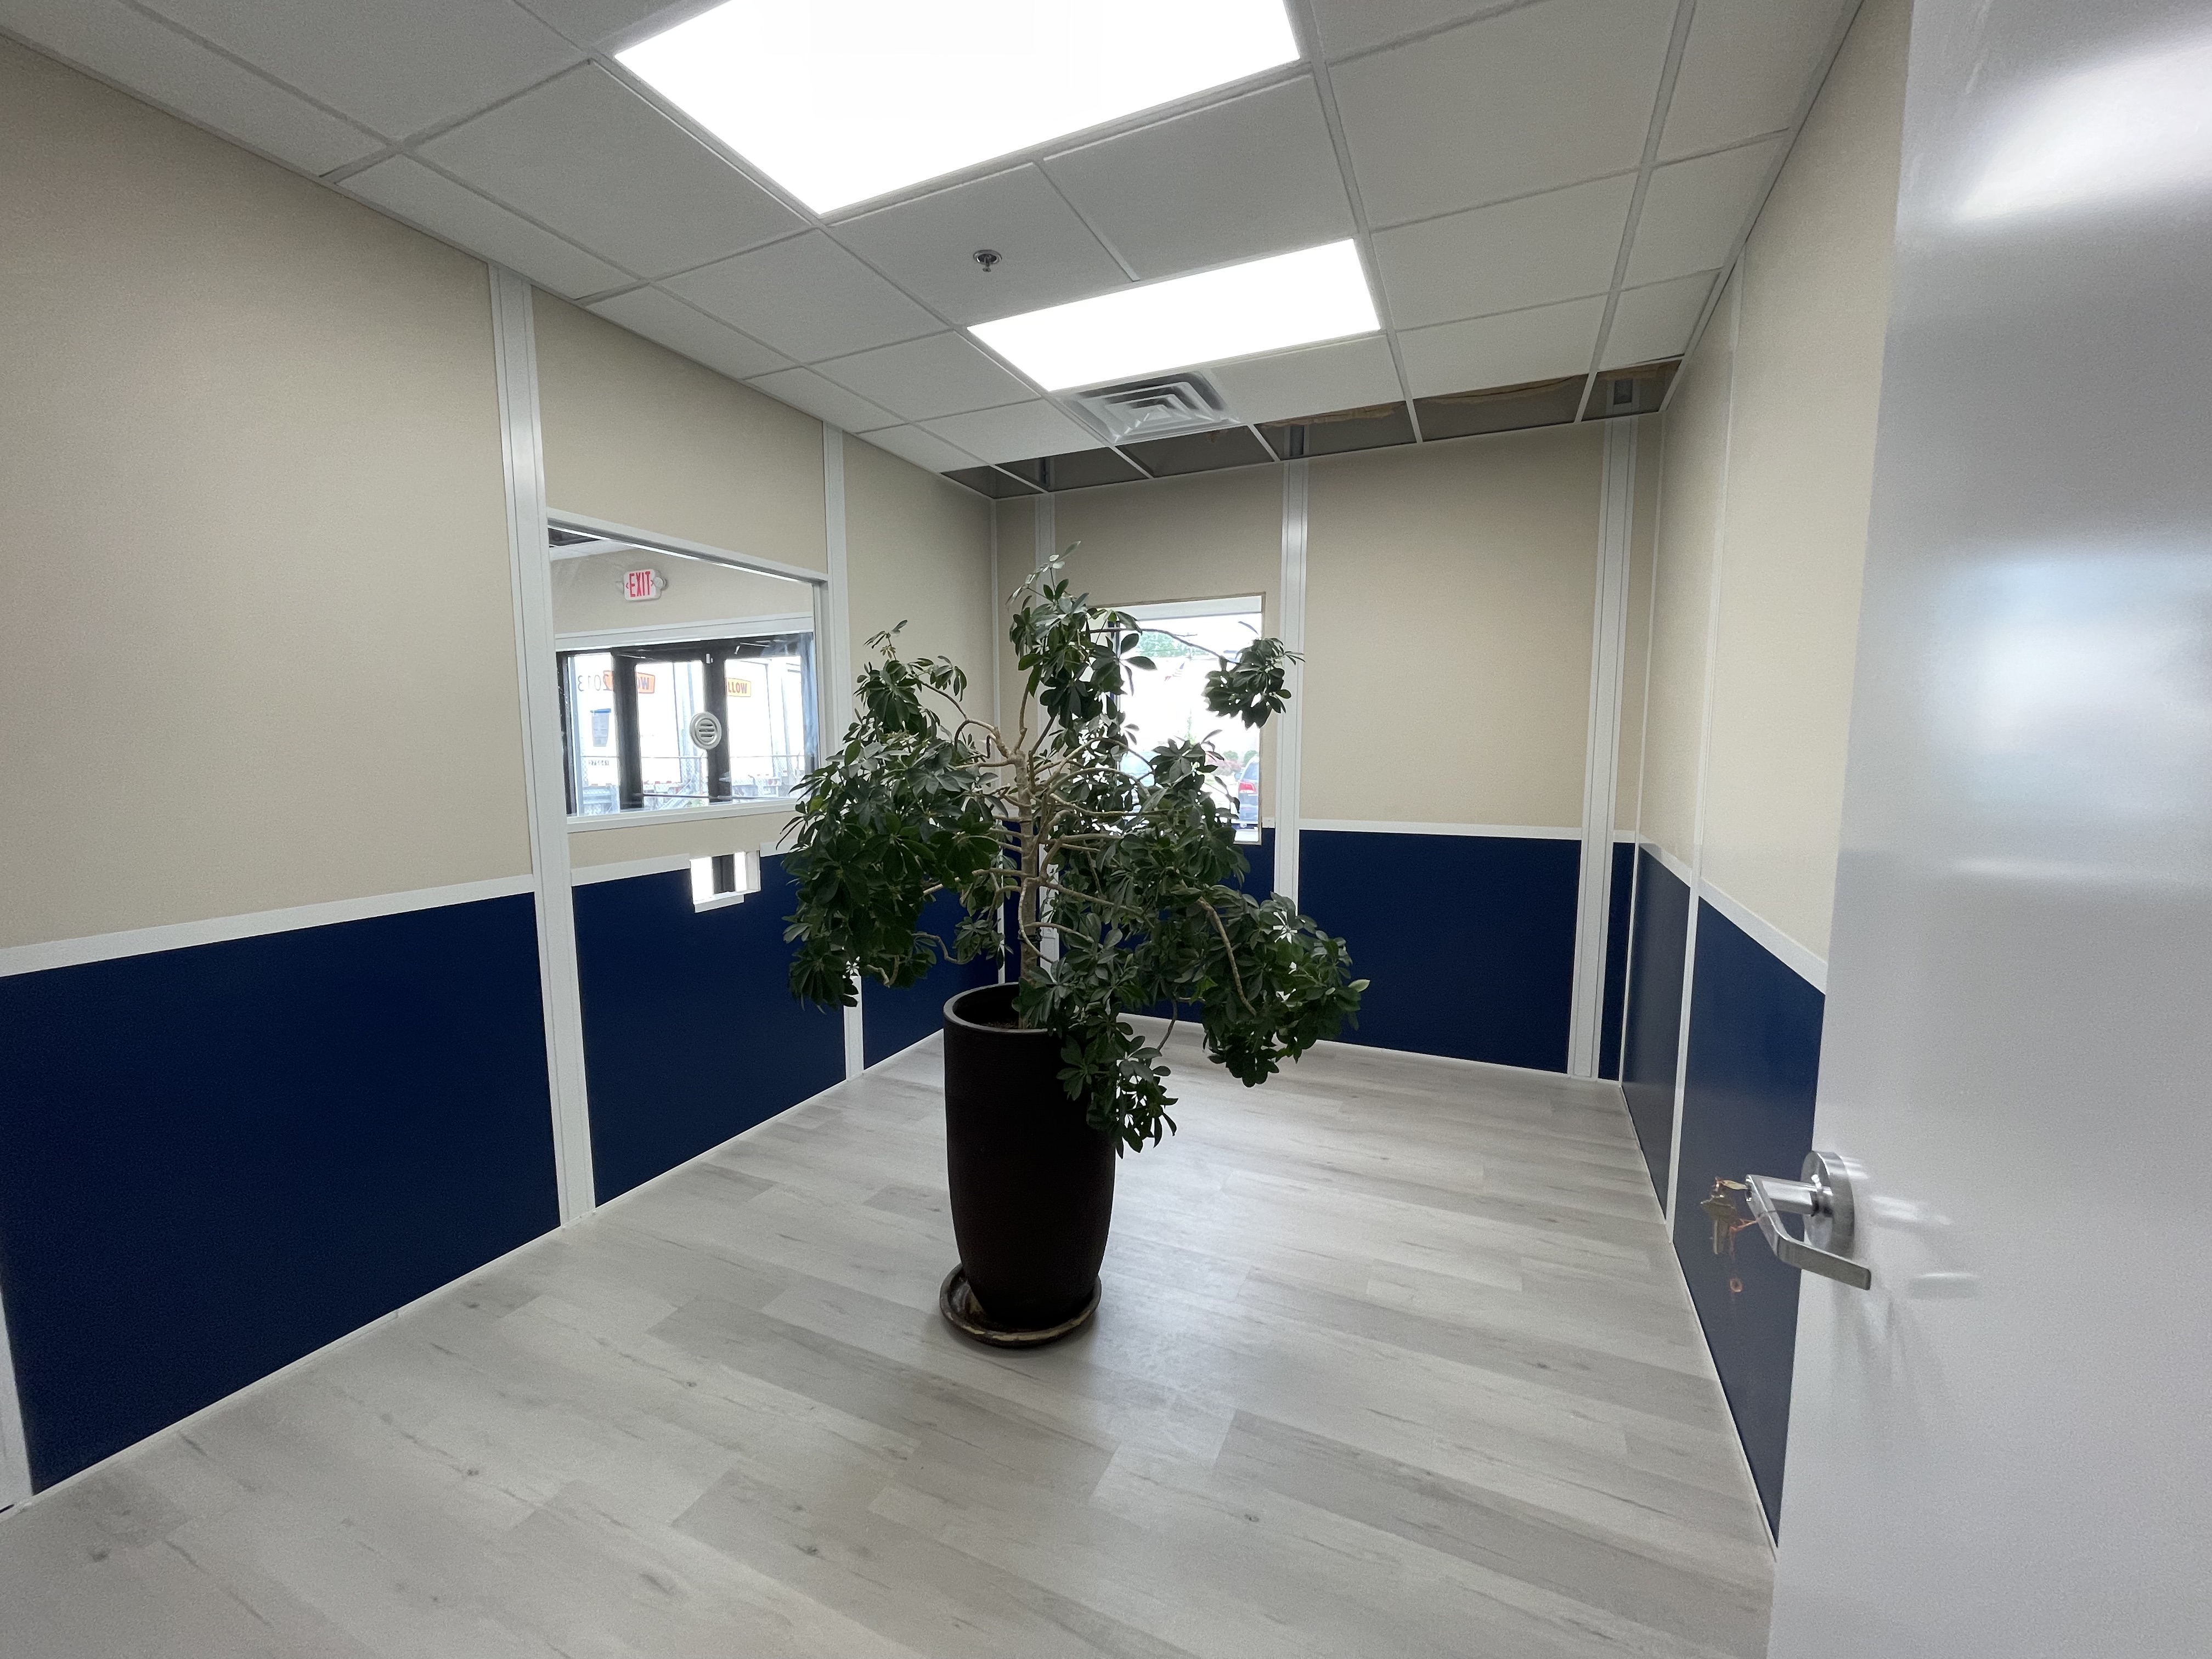
- Professional Finish: Creates a climate-controlled, enclosed space inside your warehouse for supervisors, admin teams, or specialized operations.
Step-by-Step: Building a Modular Office in a Warehouse
Panel Built’s interior modular office systems come with all the materials, hardware, and detailed installation instructions you need. Here’s an overview of the process.
1. Prepare the Site
- Clear and Clean the Area: Remove any obstacles or debris where the office will be installed.
- Organize Materials: When the shipment arrives, stage materials in an accessible, safe area to streamline installation.
- Prioritize Safety: A clean site reduces trip hazards and ensures safer working conditions.
Pro Tip: With modular construction, site prep can happen at the same time your office is being fabricated at our facility, saving valuable time.
2. Lay Out the Building
- Use a chalk line to mark the interior dimensions according to the provided customer package drawings.
- Ensure corners are at 90 degrees by measuring diagonals—if they match, your layout is square.
- Double-check measurements against the provided plans before installation.
3. Install the Base Channel
- Position the base channel along your chalk outline.
- Secure it to the floor using the provided fasteners—1/4" nylon anchors for concrete, or 10" Phillips pan head screws for wood.
- Space fasteners approximately 18" apart for stability.
4. Start the First Wall Panel
- Begin in a corner for maximum stability.
- Slide the first panel into the base channel, aligning its edge with the corner point.
- Use a putty knife to guide panels into place without damaging the surface.
- Ensure the panel is plumb before fastening it to the base channel with self-drilling screws.
For partial wall builds (using existing warehouse walls), attach a wall start to the pre-existing wall before inserting the first panel.
5. Insert the Corner Post
- Install a corner post over the edge of the first wall panel.
- Insert the panel into the short side of the post. The longer side accommodates potential wall growth during installation.
- Fasten the top and bottom of the post with self-drilling screws.
6. Continue Wall Installation with Binder Posts
- Assemble binder posts using two hat channels and two snap-in covers.
- Place the binder post over the end of the first panel, then slide the next panel into place, leaving a small expansion gap (~1/8").
- Repeat until you reach the next corner, then install another corner post.
7. Cap the Walls and Install the Roof
- Attach the top channel to cap the walls.
- Install the B-deck roof panels onto the top channel and secure them according to the provided drawings.
Once complete, you’ll have a fully functional modular office in your warehouse that’s ready to be wired, furnished, and put to work.
Benefits of Panel Built’s Modular Office System
- Fast Installation: Offices can be built in days, not weeks.
- Custom Designs: Tailored layouts, window placements, and finishes.
- Expandable: Add-on sections or even a second floor in the future.
- Code Compliant: Built to meet local building codes and safety standards.
- Professional Appearance: Seamless integration with existing warehouse operations.
Building an Office in a Warehouse: Key Takeaway
Adding a modular office to your warehouse is a smart investment in productivity, organization, and comfort. With Panel Built’s knock-down panelized systems, you can install a modular building office quickly, with minimal disruption to your workflow—and with the flexibility to adapt as your business evolves.
Take the Next Step
If you’re ready to build an office in your warehouse, Panel Built can design, manufacture, and deliver a solution that fits your exact needs.
Call 800-636-3873, email info@panelbuilt.com, or request a quick online quote. We’ll provide plans, specifications, and pricing so you can start your project with confidence.